If you didn’t install and activate the plugin yet please see the installation guide and come back here later.
First step after catalog activation
The first thing you will see after plugin activation is an information box on the top of the screen. If you don’t see the box please deactivate the plugin and activate it again.
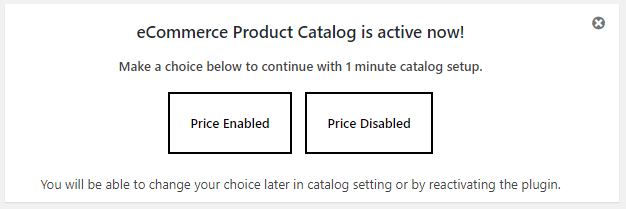
You will get a couple of questions that will make the initial setup faster. Make sure to answer all of them (it is less than 1 minute setup).
After the setup is complete you will get the following box:

Now choose to add products manually or import them. If you are using the plugin for the first time the best way to continue is to add the first product manually.
After you click the Add First Product button you will see the product add/edit screen with a new info box on the top. The box will disappear as soon as you add your first product.
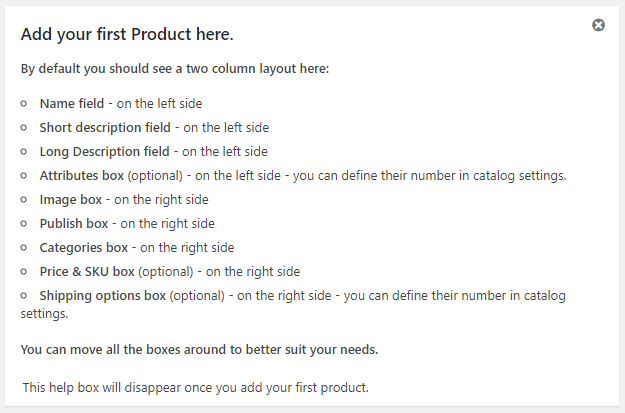
If you don’t see this box it means that you have already added at least one product. Please make sure that you fill all the information that you will be filling for all you products and publish the product. After you publish your first product you will see the following info:

The best way to set your catalog up and running is to add all the products first and take care of the layout later so you should now add another product or go ahead and import them all from the CSV file or import the products from other plugin or content.
As soon as you add all your products go to a random product edit screen and Click the Customize Product Page Layout button in the help box. You will now see your product page with all the specified details on the right side and the customization column on the left side of the screen.
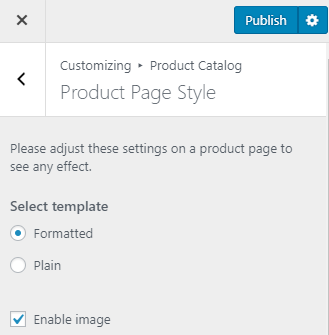
Please now adjust all the settings. It is important that you have filled all the necessary info for your product so you can see things changing instantly when you switch the settings in the customization column.
Click the ‘Publish’ button when you are ready to save your adjustments and than the ‘x’ button to go back to the admin panel.
When you click the ‘x’ button in the product page customizer you should go to the admin side product list. The table should contain one Sample Product Page and your newly added product(s).
You should also see the following box above the products table:

Click on the Customize Listing Layout button to start adjusting it. You will be directed to your current main listing page with the customizer column on the left side:
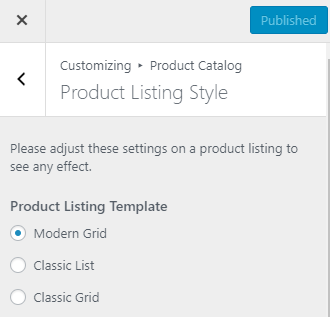
Please adjust the listing template. By default there are 3 listings available. If you want a different one please see the listing template extensions later. If you also want to change the entire page layout (add or remove sidebar etc.), please visit the catalog main listing template documentation.
Click the ‘Publish’ button when you are ready to save your adjustments and than the ‘x’ button to go back to the admin panel.
When you click the ‘x’ button in the product listing customizer you should go to the catalog settings page. In the settings page you will find the tabs on the top and on the left side. You can adjust every part of the catalog in the settings. On the top of the screen you will see the following box:
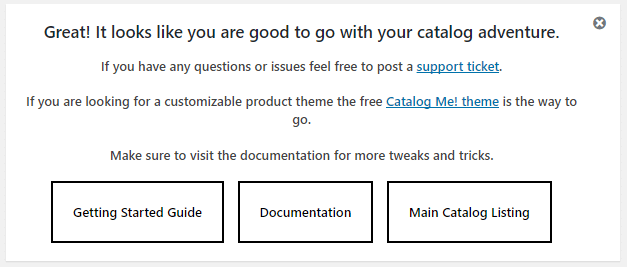
You will see the URL to the support forum and Catalog Me! theme that is a free dedicated theme for eCommerce Product Catalog.
Congratulations! You’ve just configured your catalog. You can now dive into the settings or continue adding your products (if you haven’t added them yet).
The recommended way is to add all your products first and take care of the catalog layout options later. This strategy will let you see how the catalog looks like with all the products, categories, images etc. and make the necessary adjustments.
What to do next?
- Change catalog template
- Set catalog currency or disable price
- Select single product page design
- Customize your catalog URLs
- Add your products or import them from a spreadsheet
- Change the integration method if you have any problems with the catalog layout
