
You can display multiple catalog icons on the website’s main menu. The icons are disabled by default. To enable them, go to Products > Settings > Catalog Design > Design Schemes and switch the Icons Display option:
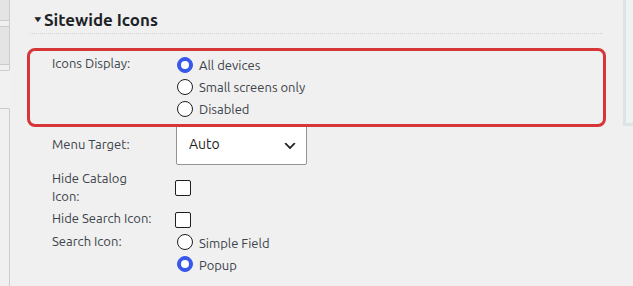
Choose All devices or Small screens only.
Two icons are available:
- Catalog icon – an icon that takes the user to your main catalog page (shown only when the main listing page is enabled)
- Search icon – an icon that shows the search field
Extensions can add more icons. For example, Shopping Cart and Quote Cart add a cart icon.
The icons show up at the end of your menu:

Sitewide Icons Color
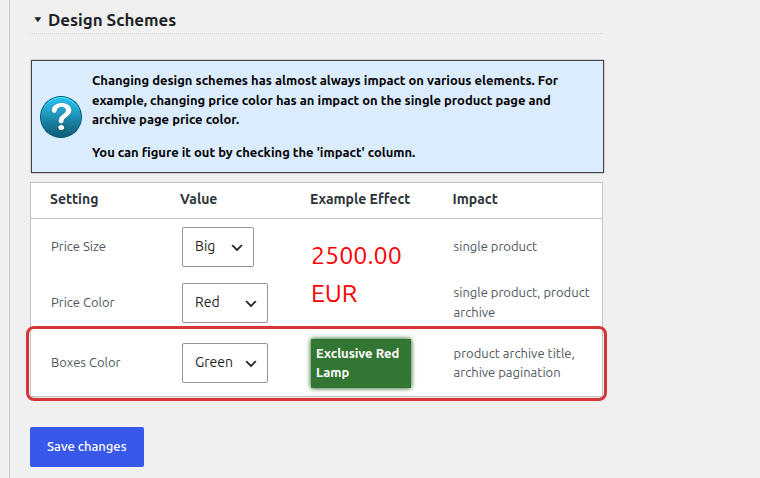
The icon color is based on the Boxes Color option on the Design Schemes screen:
Hide specific sitewide icons
You can hide all icons by switching the Icons Display option to Disabled.
To hide the Catalog Icon check the Hide Catalog Icon checkbox.
To hide the Search Icon check the Hide Search Icon checkbox.
Search Icon Type
You can select one of the two search icon modes:
- Simple Field – it will display the search input below the icon when clicked.

- Popup – it will display the full page popup with the search input when clicked.


Choose the menu for the icons
Use the Menu Target option to choose where the icons are added:
- Auto (default): the plugin picks the main header menu of your theme.
- Theme Header or Theme Footer: the header or footer menu of your theme.
- A specific menu location registered by your theme.
Catalog icons in block themes
In block themes (for example Twenty Twenty-Five), the icons are not added to menus automatically. Instead, edit your header in Appearance > Editor and add the Catalog Icons block inside the Navigation block. The Hide Catalog Icon, Hide Search Icon and Search Icon options apply to the block too. See all product catalog blocks.
You can also open the icon settings in the WordPress Customizer with the Customize Sitewide Icons link that administrators see on the main catalog page.